
Since Home Assistant now requires you to swap from Supervised to Docker or OS i figured i’d make a quick tutorial on creating a quick Docker tutorial on reinstalling it.
Backing Up/Downloading Encryption Key
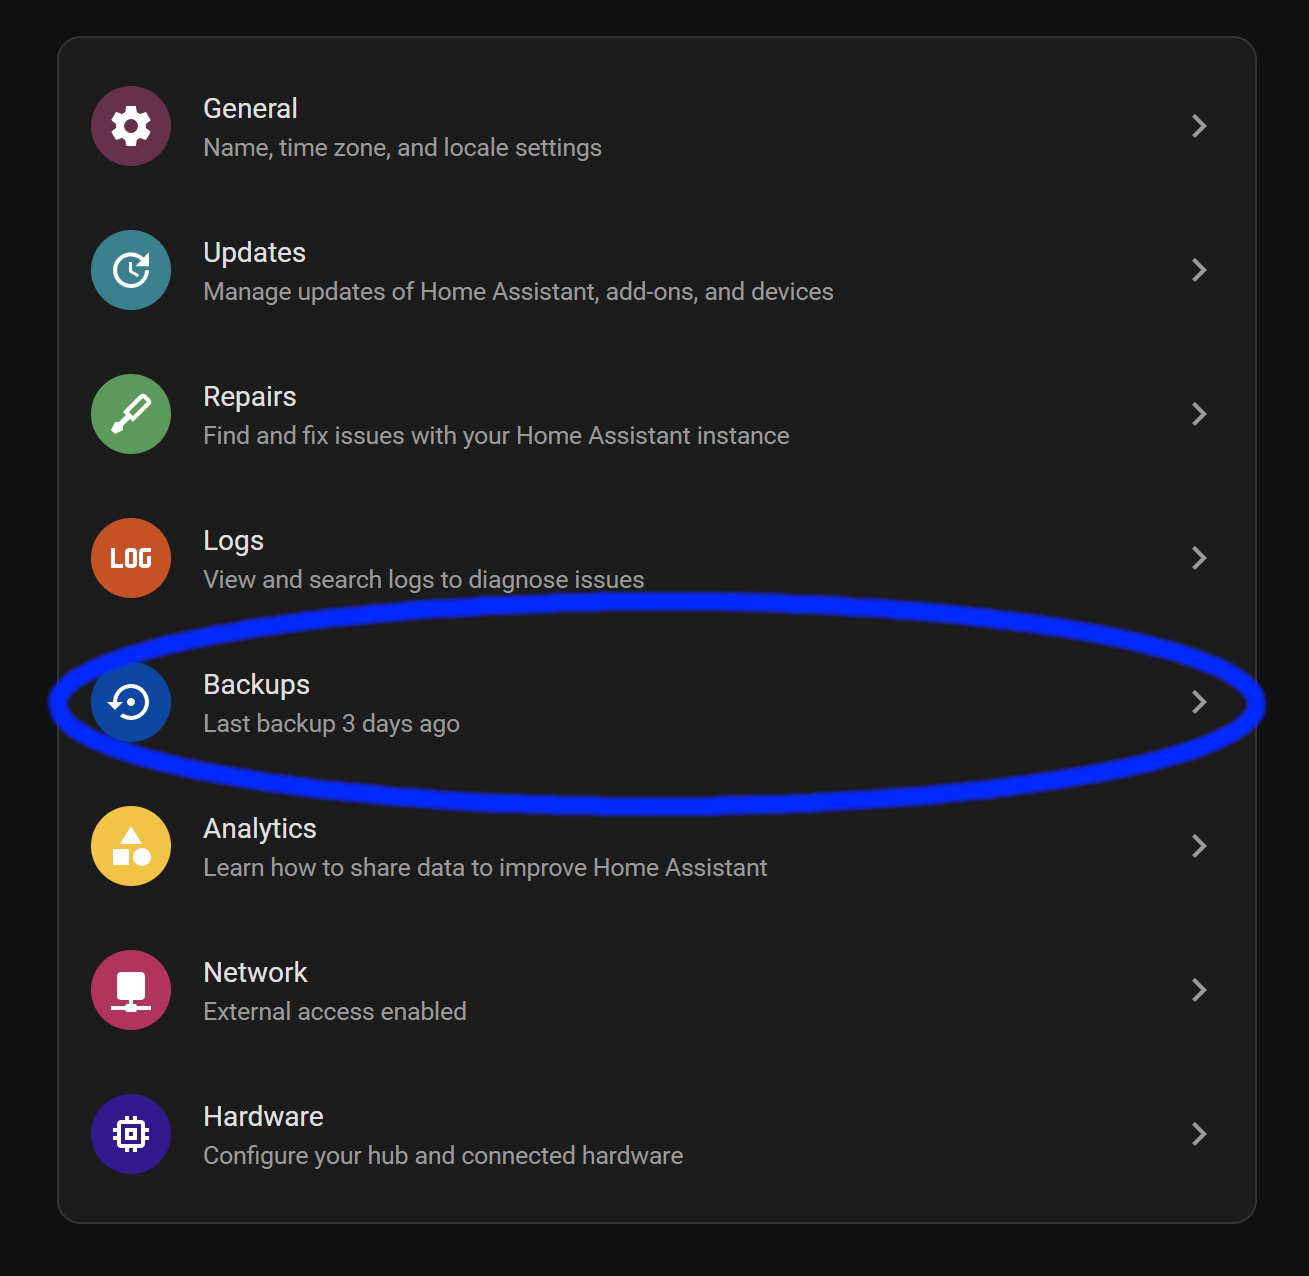
First, we go to your Settings

Then Backups
Before you continue, make sure you have a new backup and download it to your computer so we can upload it later. If you’re using Home Assistant Cloud, you just have to make a new backup and upload it to the cloud if you want to restore from the cloud.
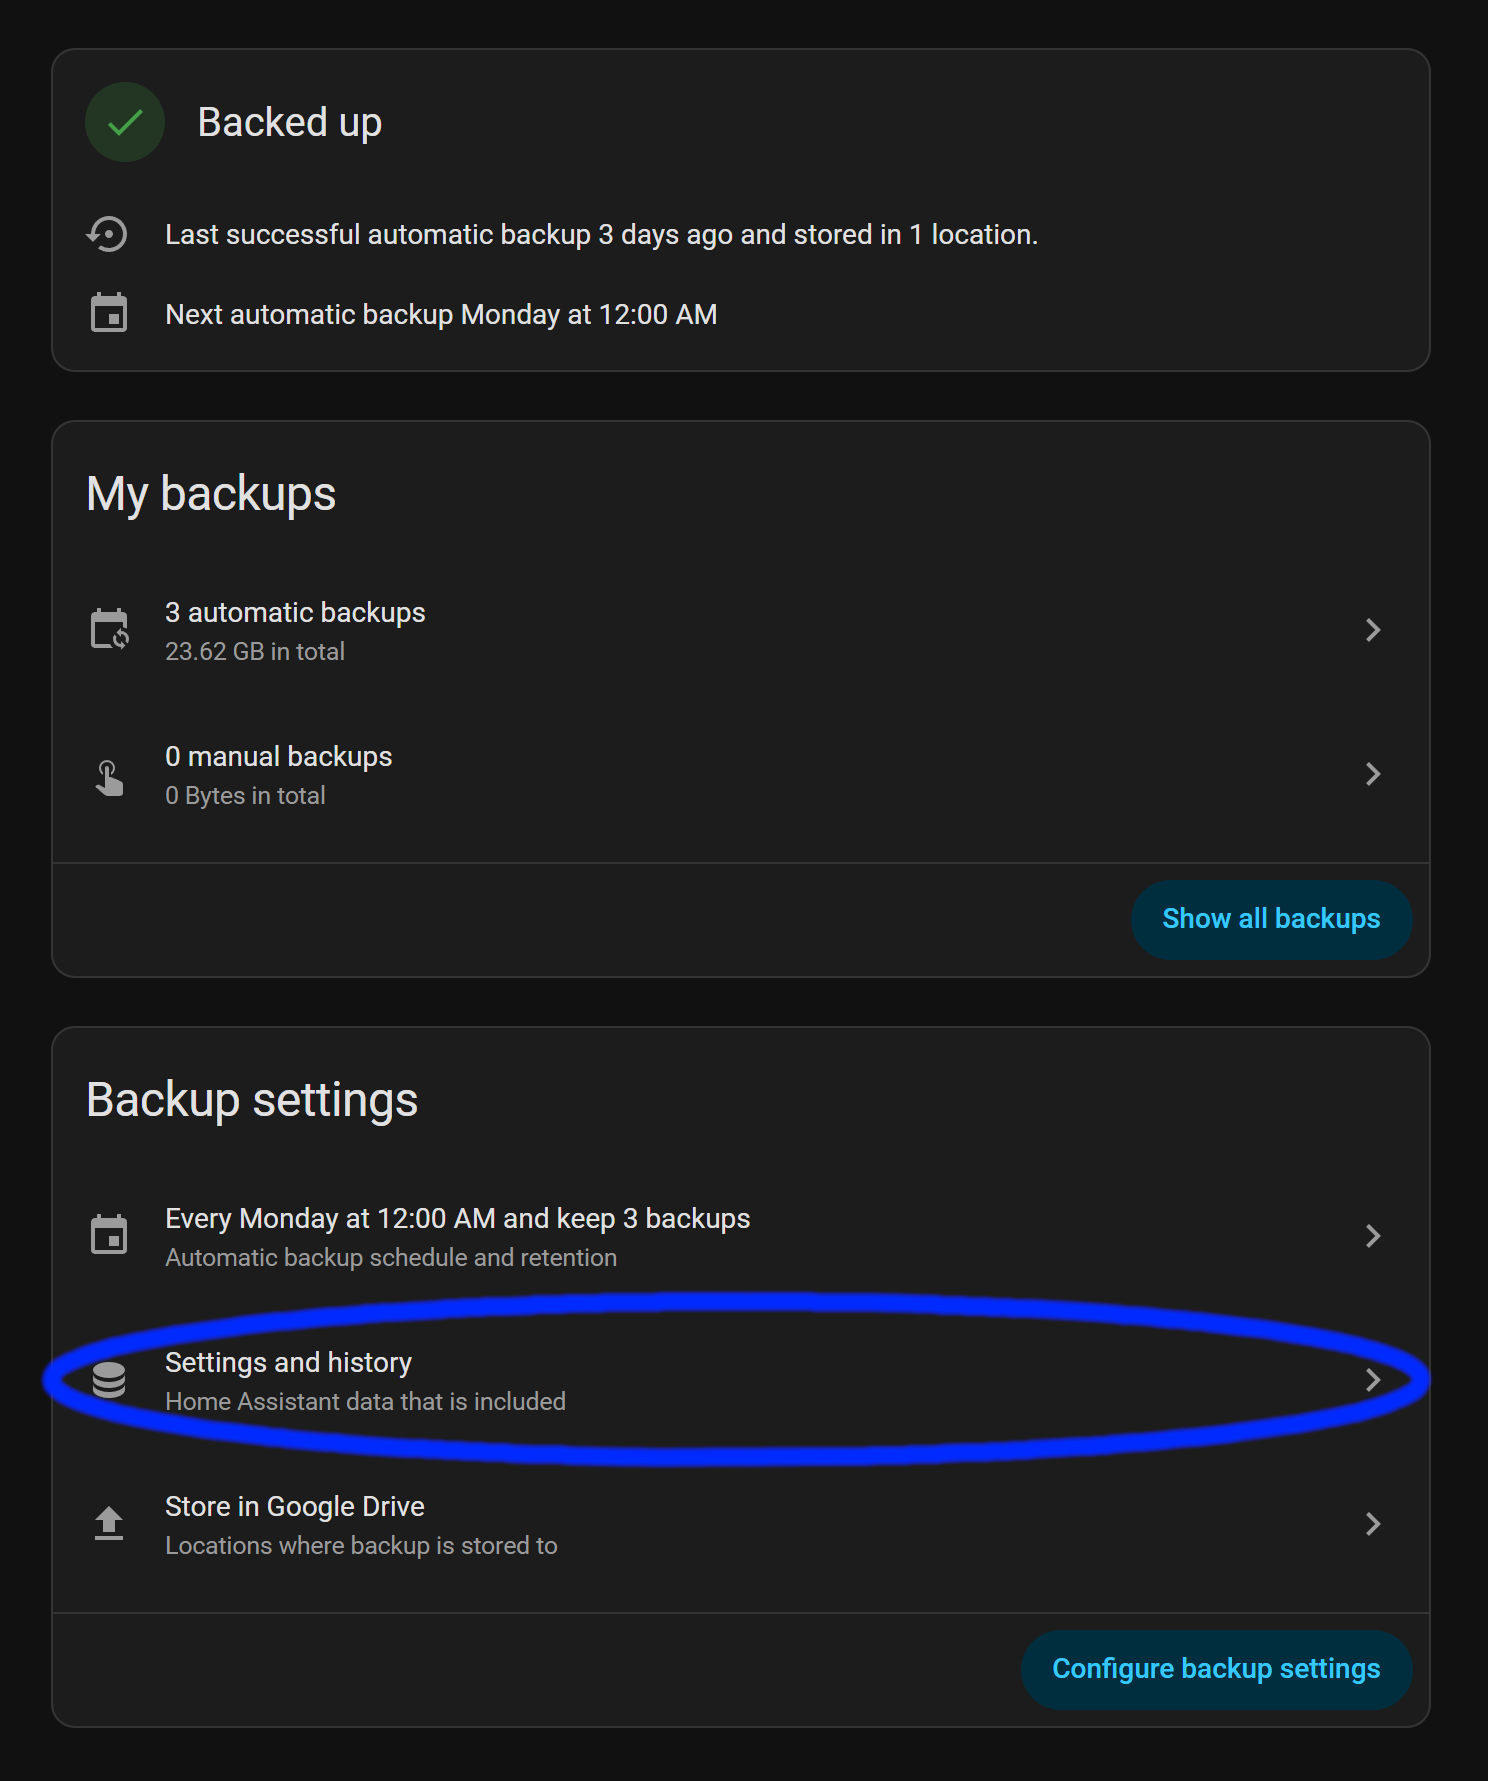
Click Settings and History
Download your Emergency Kit txt file
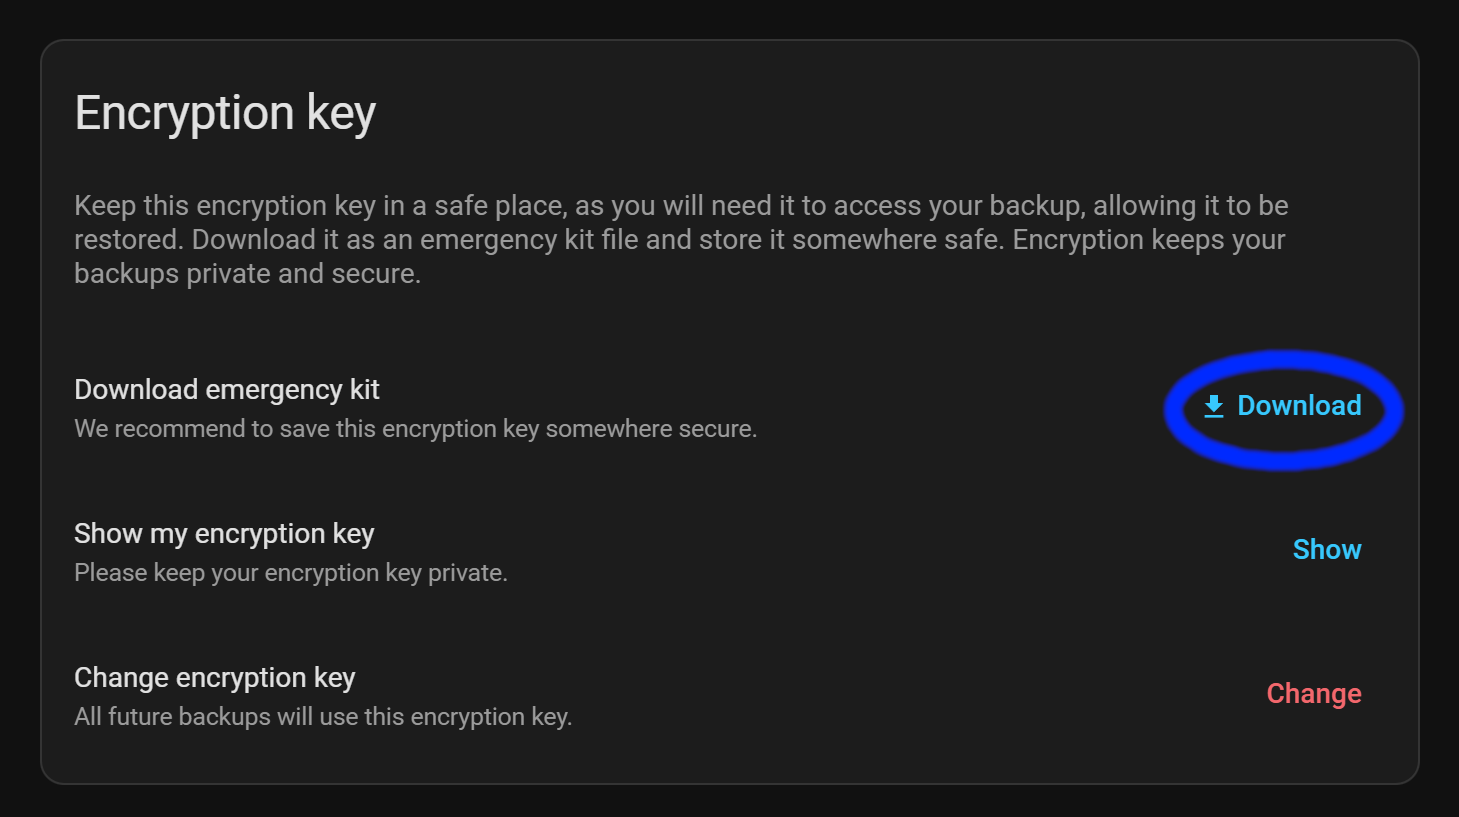
We have to make sure you have your emergency kit downloaded so we can use your encryption key when you restore from your backup.
After the Emergency Kit is downloaded, go back.
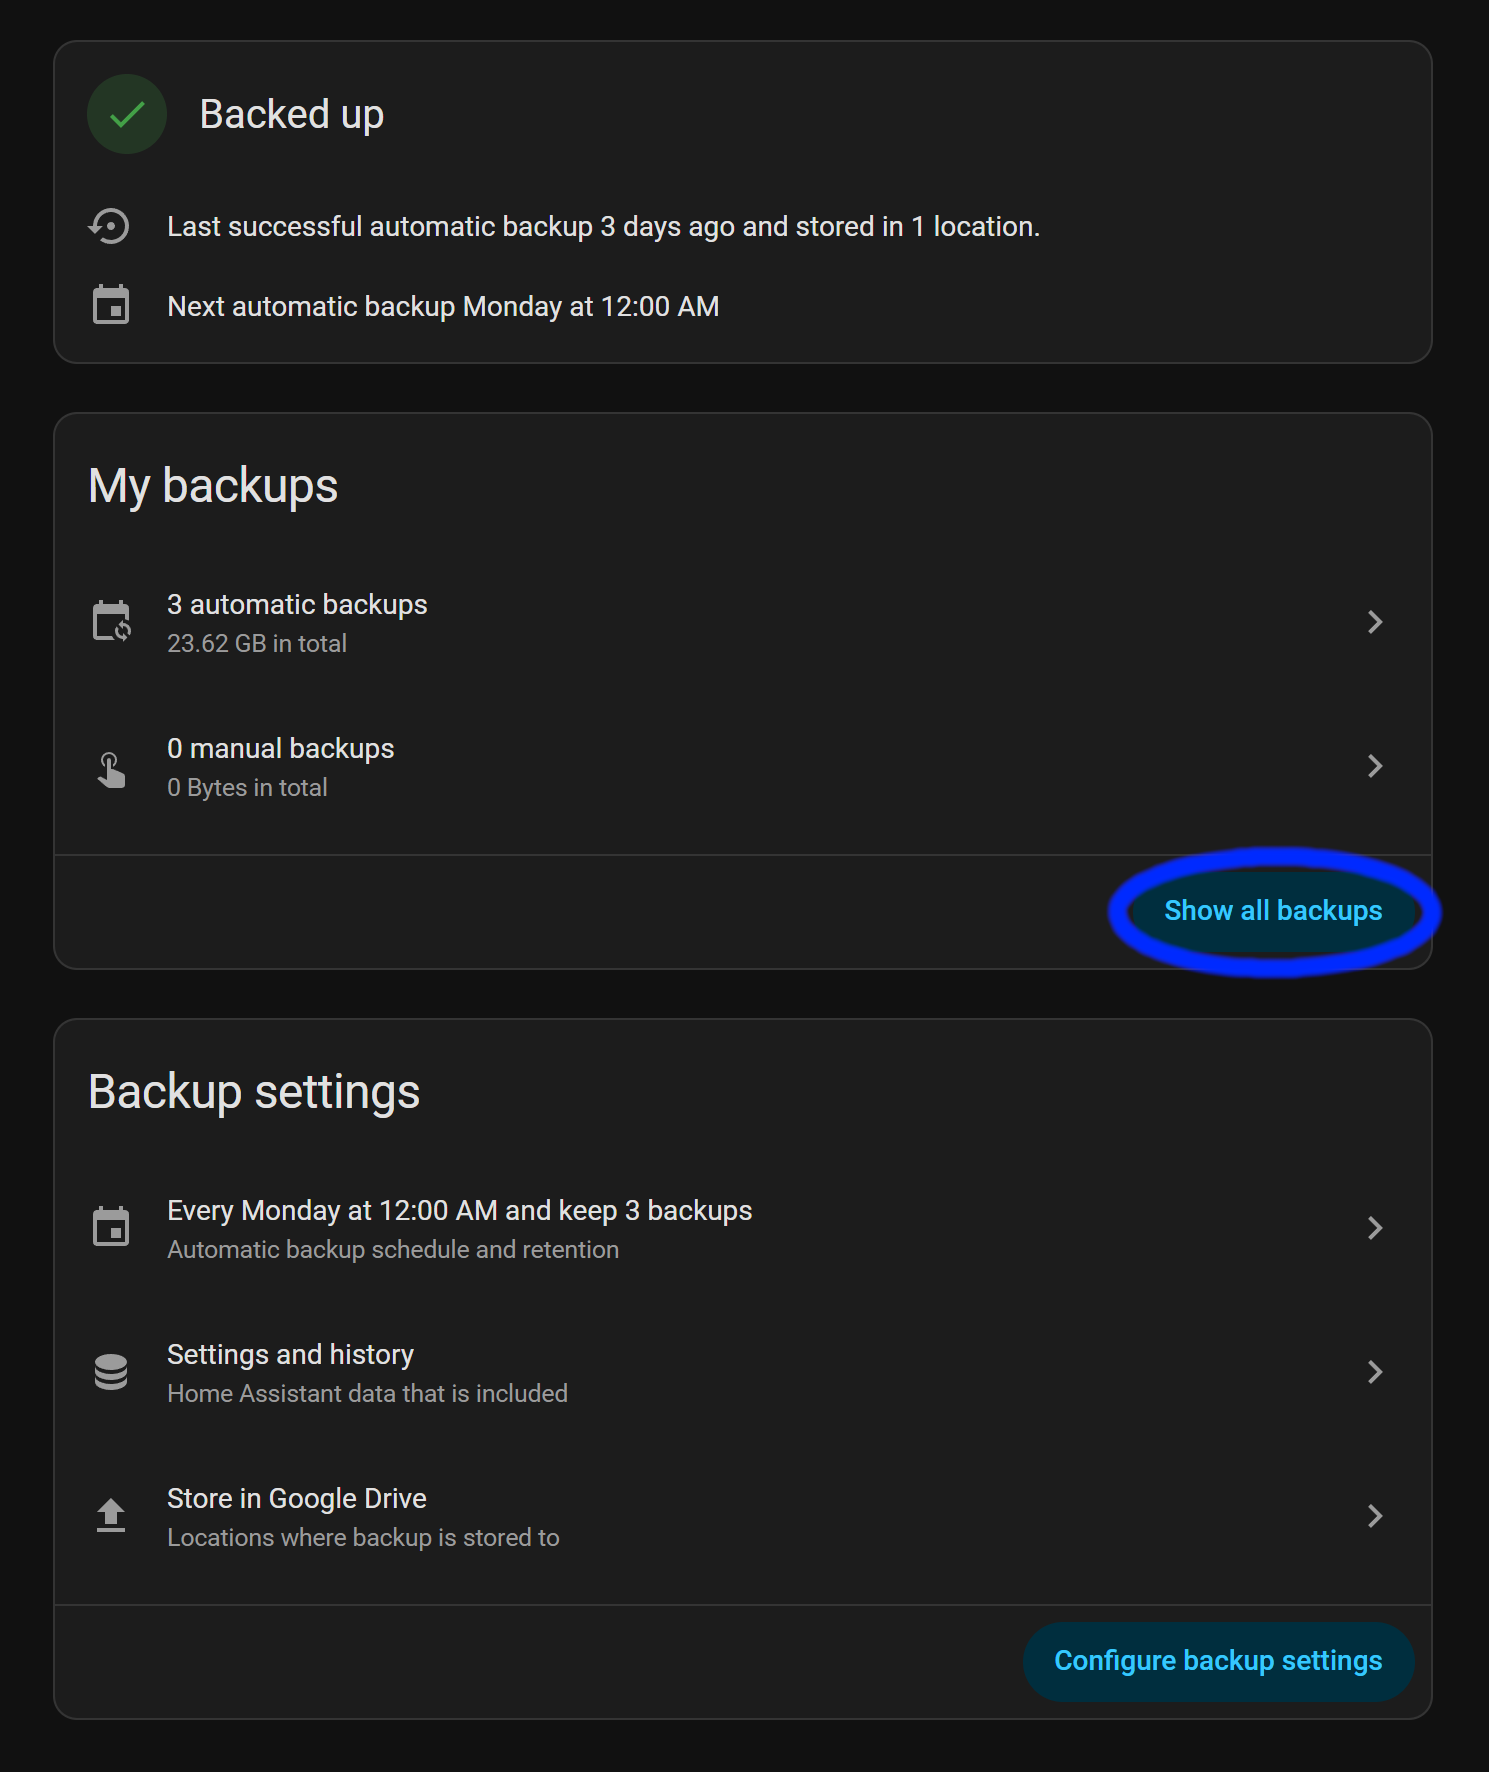
Click Show Backups
Now we go and download your latest backup.
Click the three vertical dots

Click on download.
This will take a while if your backup is large.

After that’s all done, we can continue on!
While that is downloading, we should either create your compose file or set up Portainer.
If you need to set up Docker, check this out!
Compose File Creation
Here is the basic Compose file for getting Home Assistant running in Docker.
*Note* The official docs for installing Home Assistant in a Docker Container includes container_name: homeassistant above the line image: "ghcr.io/home-assistant/home-assistant:stable". Avoid container_name unless you have a specific need (legacy scripts, monitoring tools expecting a fixed name). Rely on the service name and Compose defaults for cleaner, more portable setups.
services:
  homeassistant:
    image: "ghcr.io/home-assistant/home-assistant:stable"
    volumes:
      - /PATH_TO_YOUR_CONFIG:/config
      - /etc/localtime:/etc/localtime:ro
      - /run/dbus:/run/dbus:ro
    restart: unless-stopped
    privileged: true
    network_mode: host
services is where we tell Docker that we’re creating a container.
homeassistant is the name of the container when accessed with the Docker command line and other related things like networking, etc..
image: "ghcr.io/home-assistant/home-assistant:stable" tells Docker Compose that we want the latest stable image of Home Assistant.
services:
homeassistant:
container_name: homeassistant
image: "ghcr.io/home-assistant/home-assistant:stable"Changing the config folder path
Here is where we have to change /PATH_TO_YOUR_CONFIG to where you want to store your Home Assistant configuration files.
volumes:
- /PATH_TO_YOUR_CONFIG:/configWe have to create a folder like /home/hassio/home_assistant/ha_config, in my case, hassio is the username of this account. I created a folder home_assistant and then ha_config.
I created two folders nearly named the same because I want to run some addons as well, so I put the config folder for each addon in home_assistant, then my Home Assistant configuration folder is ha_config.
All you need to do is SSH into your device with something like Putty or CMD/Terminal. Log in as the user you want to manage the Home Assistant Docker setup with. In my case, it’s hassio. Then, create the folder or folders, as I did for my setup, or create a folder in your user’s home directory and call it good. It’s up to you what you want to do.
Create a folder with:
mkdir ha_configReplacing ha_config with what you want to use, if you use a different name.
Understanding the Configuration
volumes:
- /etc/localtime:/etc/localtime:roThis line allows Home Assistant to read the time on your computer.
Assuming it’s been set up already.
volumes:
- /run/dbus:/run/dbus:roThis allows Home Assistant to communicate with the host’s system bus — e.g., to talk to system services (BlueZ Bluetooth, systemd, Avahi, some hardware/service discovery daemons) that expose APIs over D-Bus. Home Assistant uses this to access some integrations that expect a system D-Bus to be available on the host.
restart: unless-stopped
privileged: true
network_mode: hostrestart: unless-stopped tells Docker to restart the container automatically if it exits (crashes, is killed, or the daemon restarts).
privileged: true grants the container nearly every capability the host kernel gives processes — roughly equivalent to giving the container full root-like access to the host.
network_mode: host makes the container share the host’s network stack. Practically: the container has the host’s IP addresses and network interfaces. It does not get its own isolated network namespace. In this mode, you do not need ports: mappings — the container listens on the host interfaces directly, localhost inside the container == localhost on the host, service discovery via Docker networks (service-name DNS) does not apply for other containers — host networking bypasses those DNS aliases.
Make sure you save the file, then we can continue!
Setting up the Container in Portainer
First, we have to navigate to the Portainer host. If you need help with setting up, check out this post!
Next, we have to start creating a new container.
We are going to be using the following details to input into Portainer.
services:
  homeassistant:
    image: "ghcr.io/home-assistant/home-assistant:stable"
    volumes:
      - /PATH_TO_YOUR_CONFIG:/config
      - /etc/localtime:/etc/localtime:ro
      - /run/dbus:/run/dbus:ro
    restart: unless-stopped
    privileged: true
network_mode: hostFirst, we navigate to the containers section and click on Create Container

Then select New Container on the top right

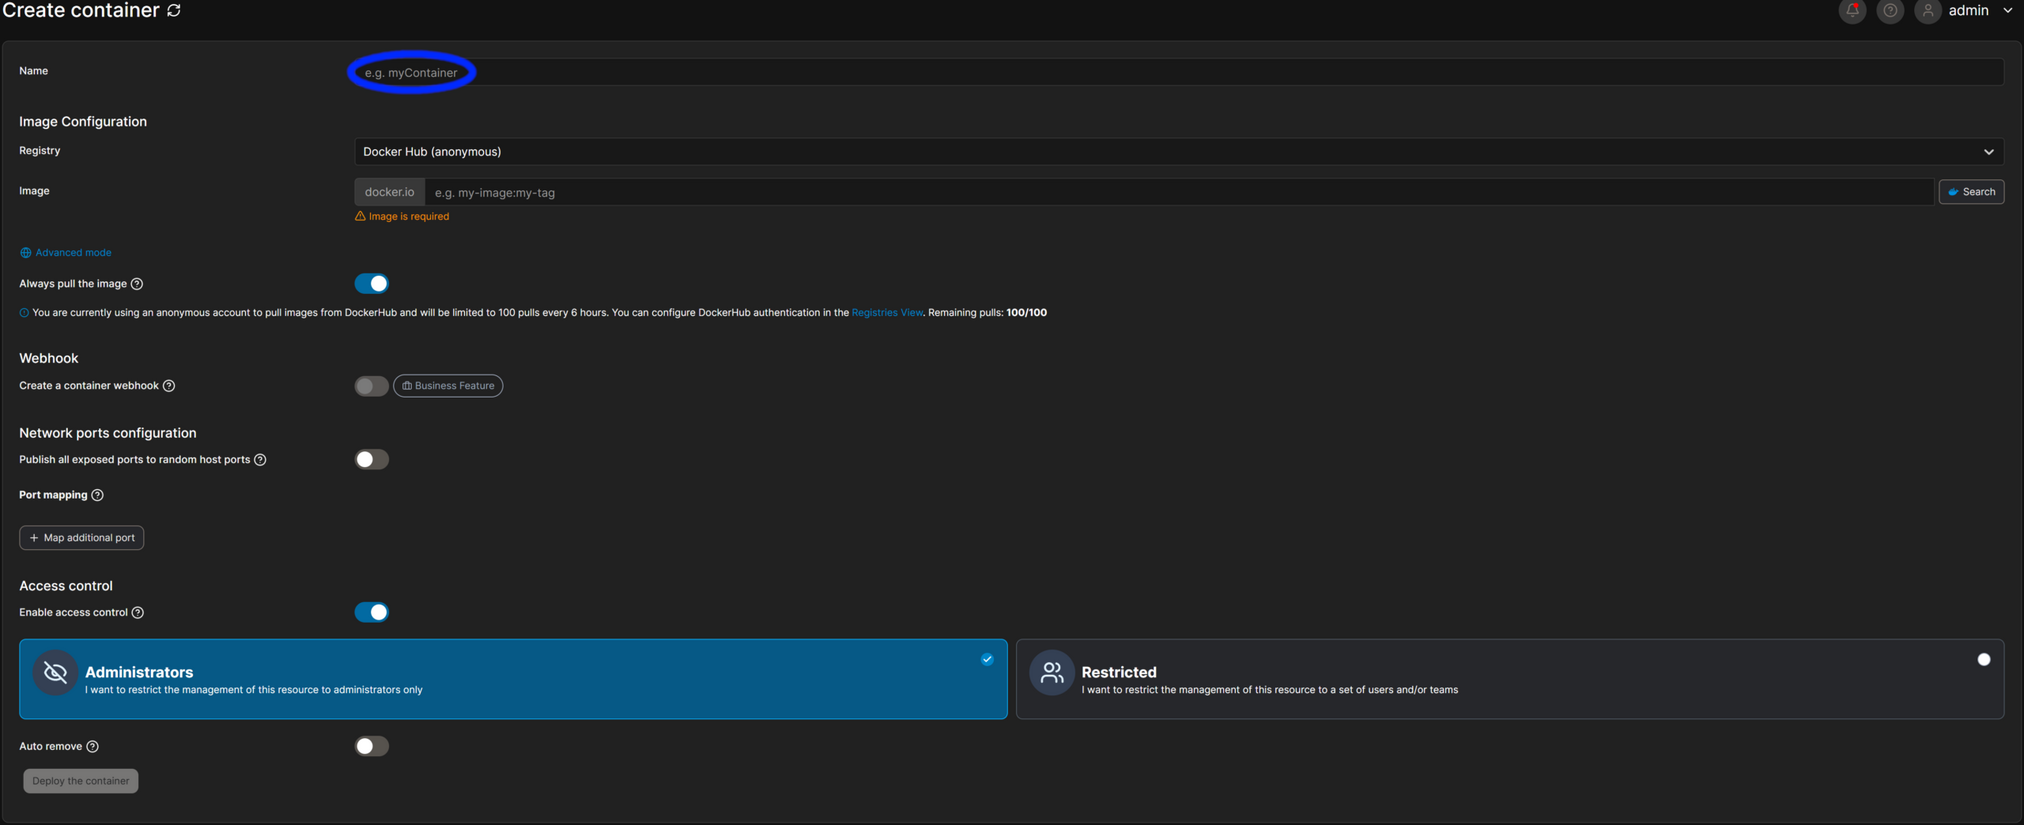
You should get a page like this, where we can put the name of the container from line #2 from above.
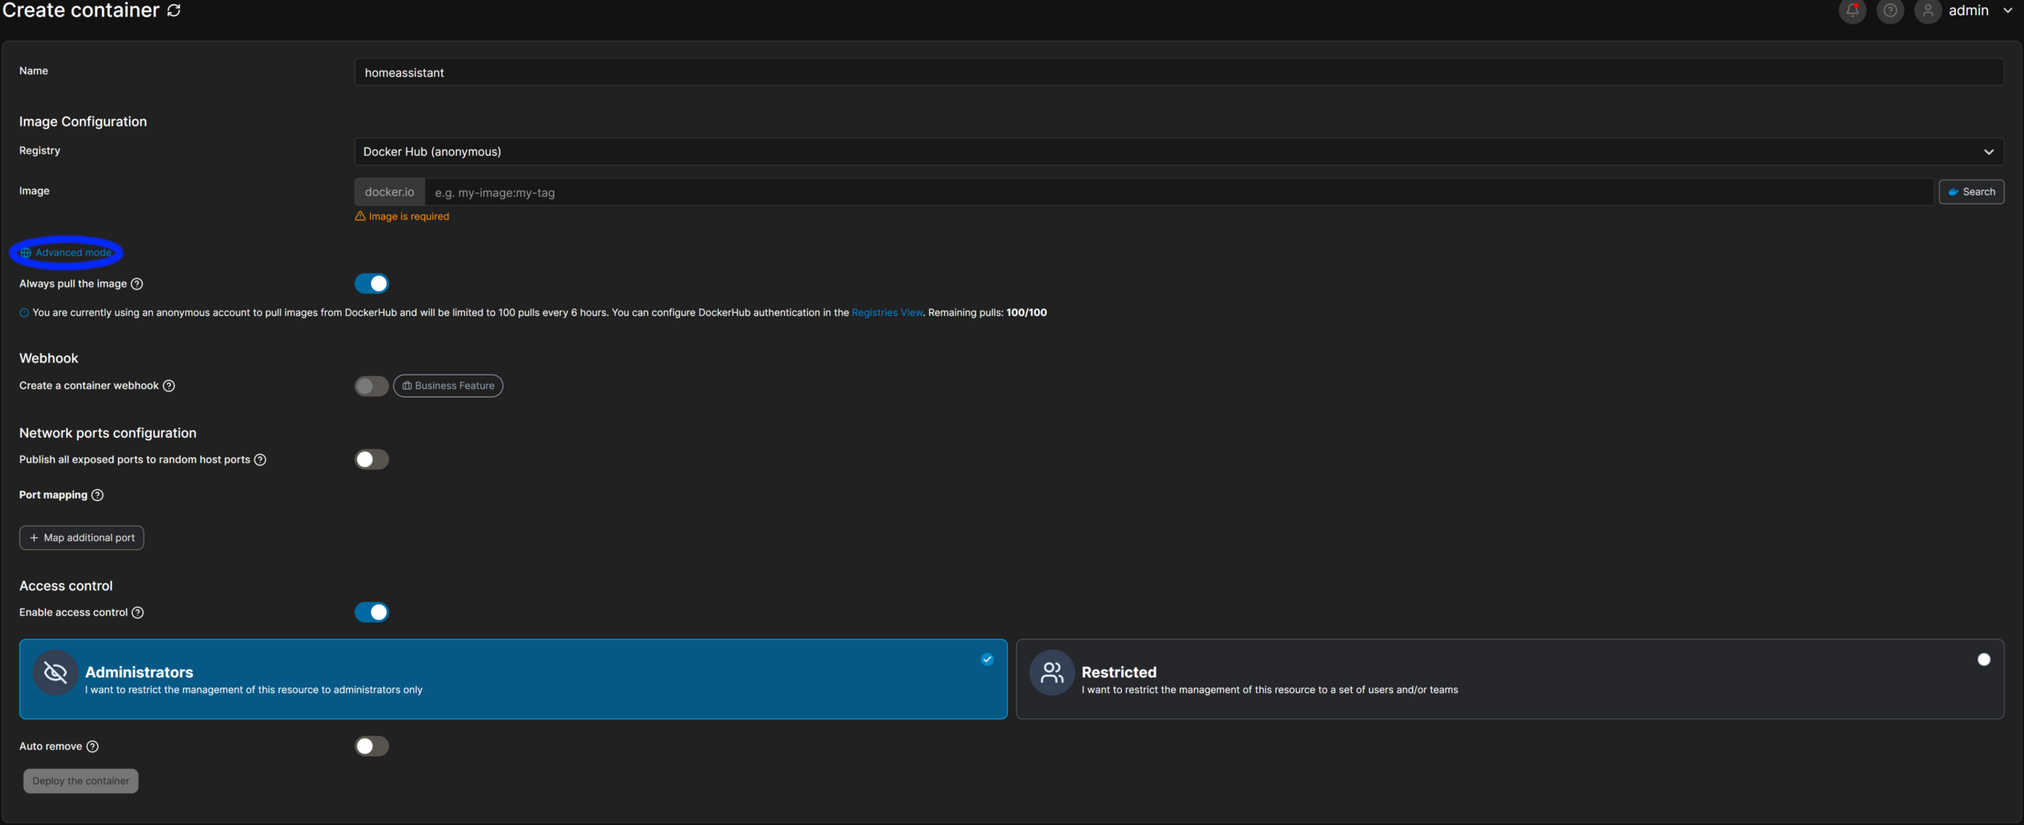
Now we click on Advanced
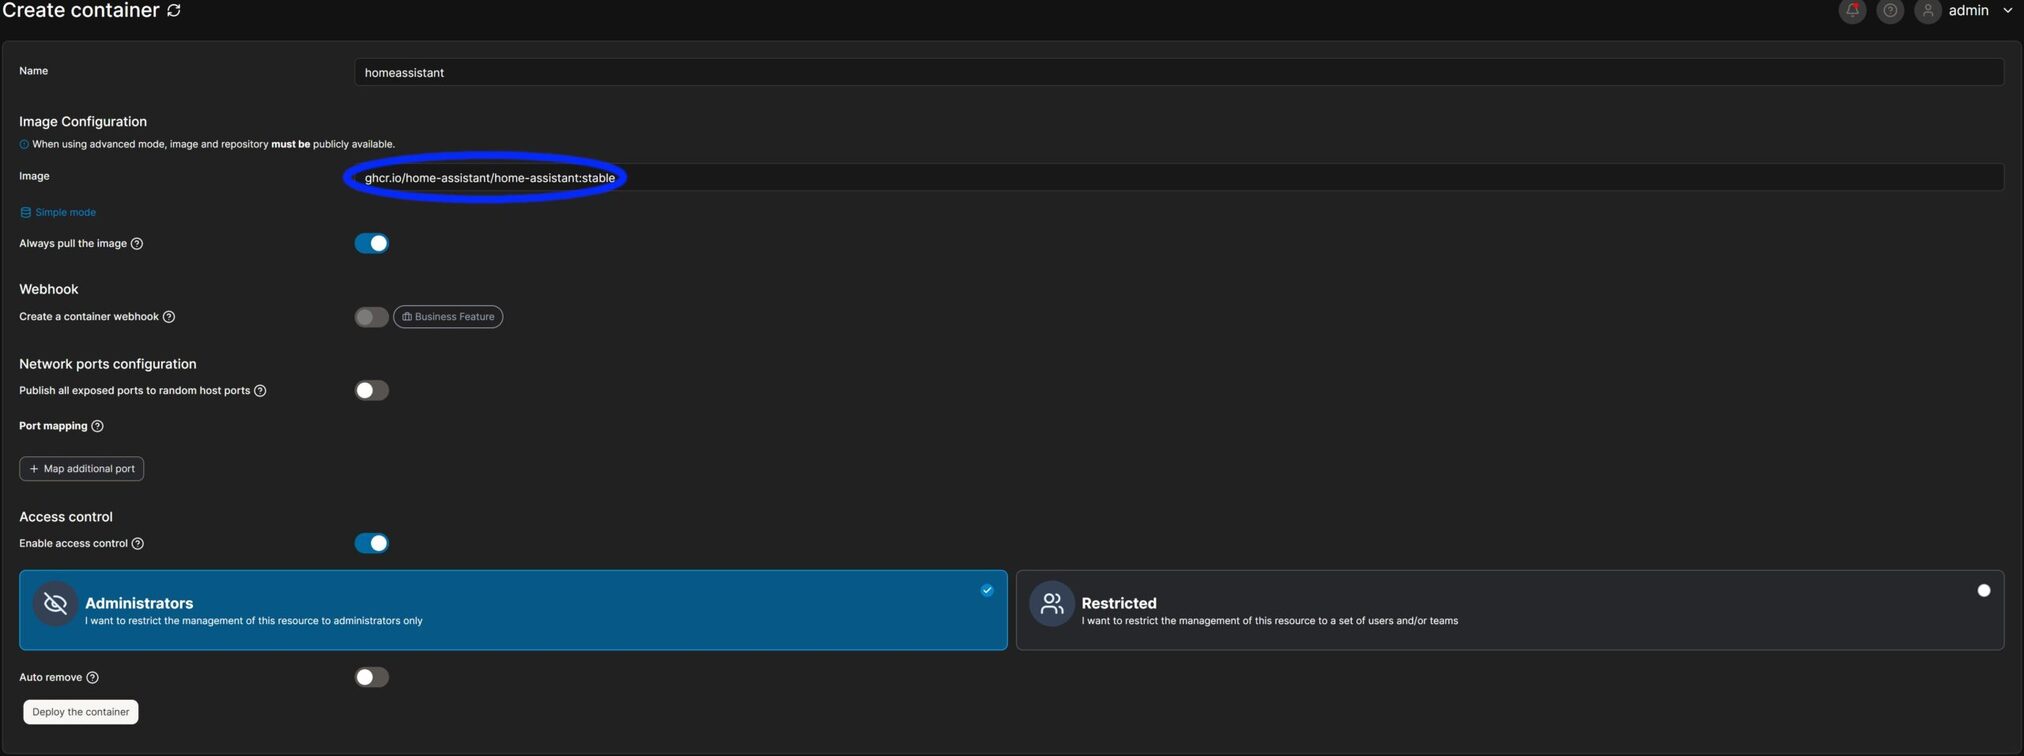
Paste the URL from the image section, copying between the quotes
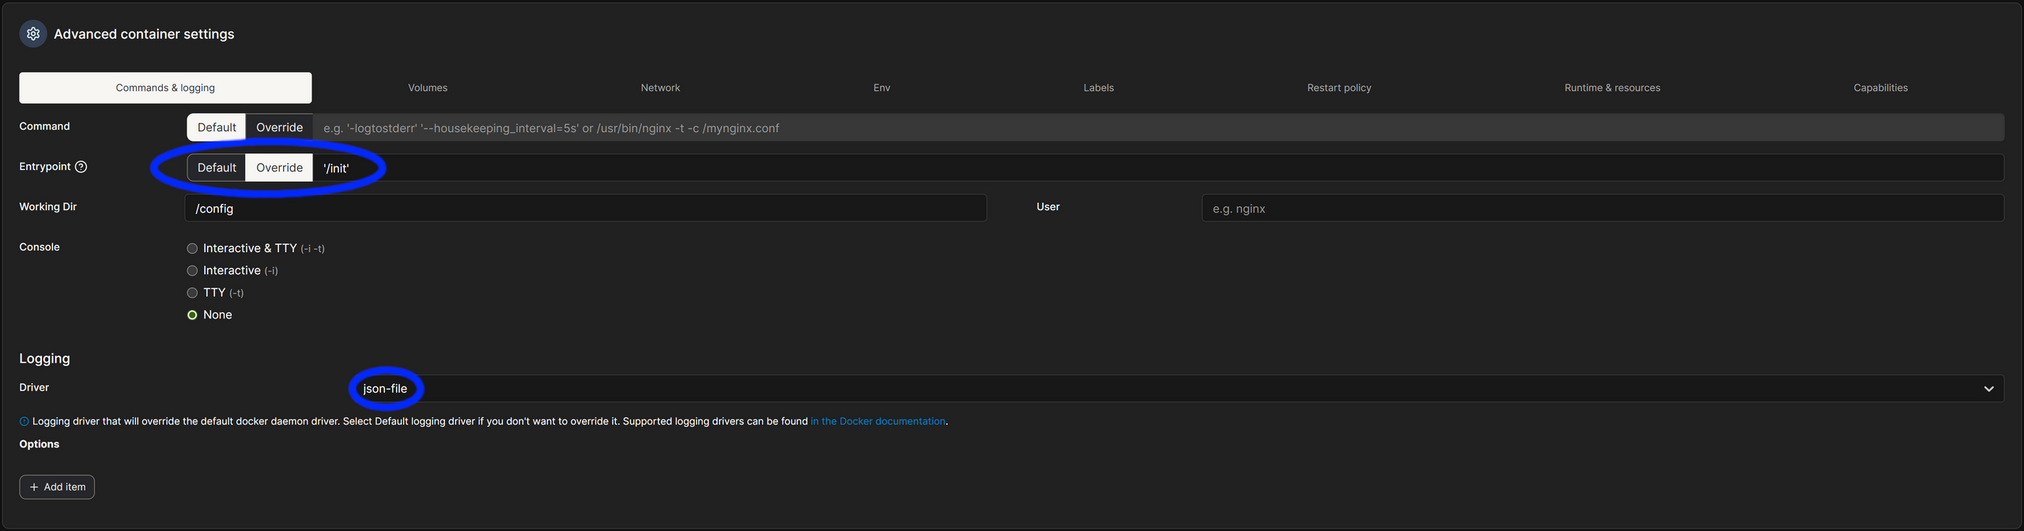
Set the Entrypoint to '/init' and the Logging Driver to json-file
Set your volumes, copying everything from the volumes section from above. Replace the host /config section and optionally set the /backups folder if you want to set a backup location on your host
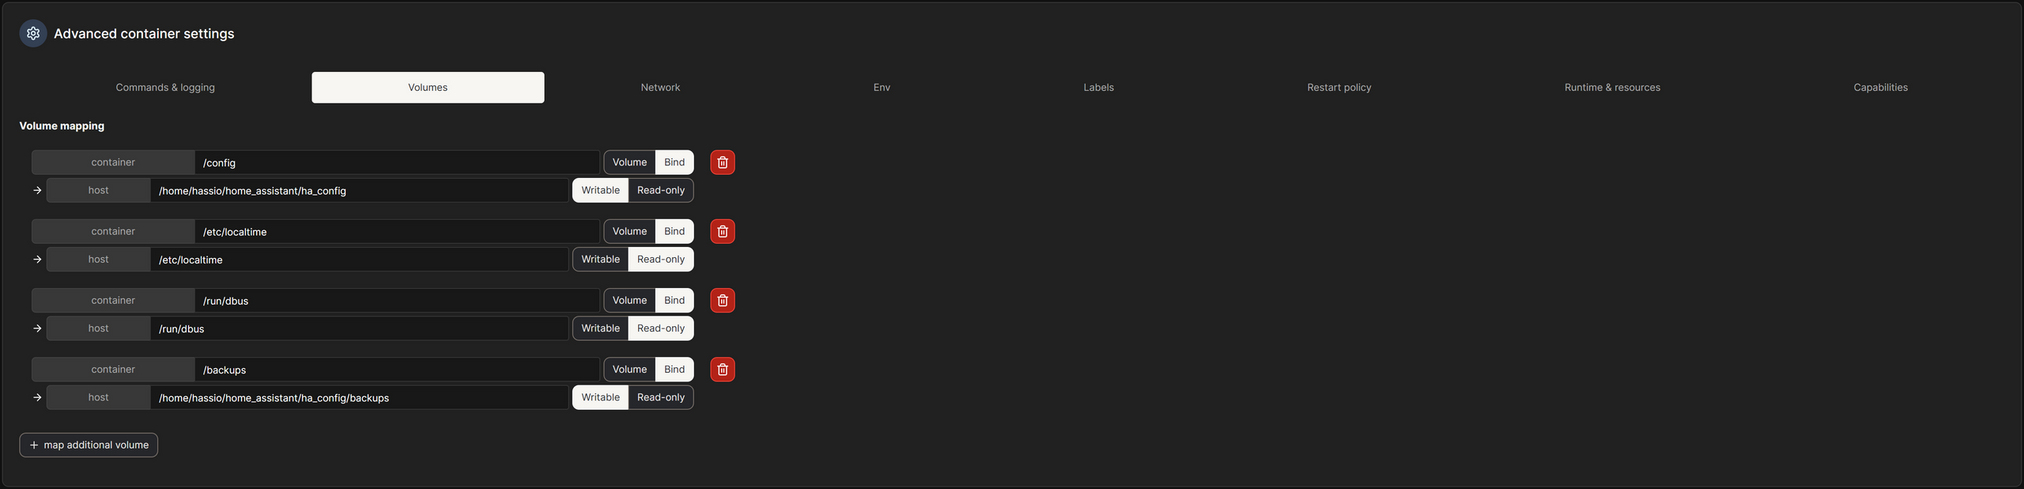
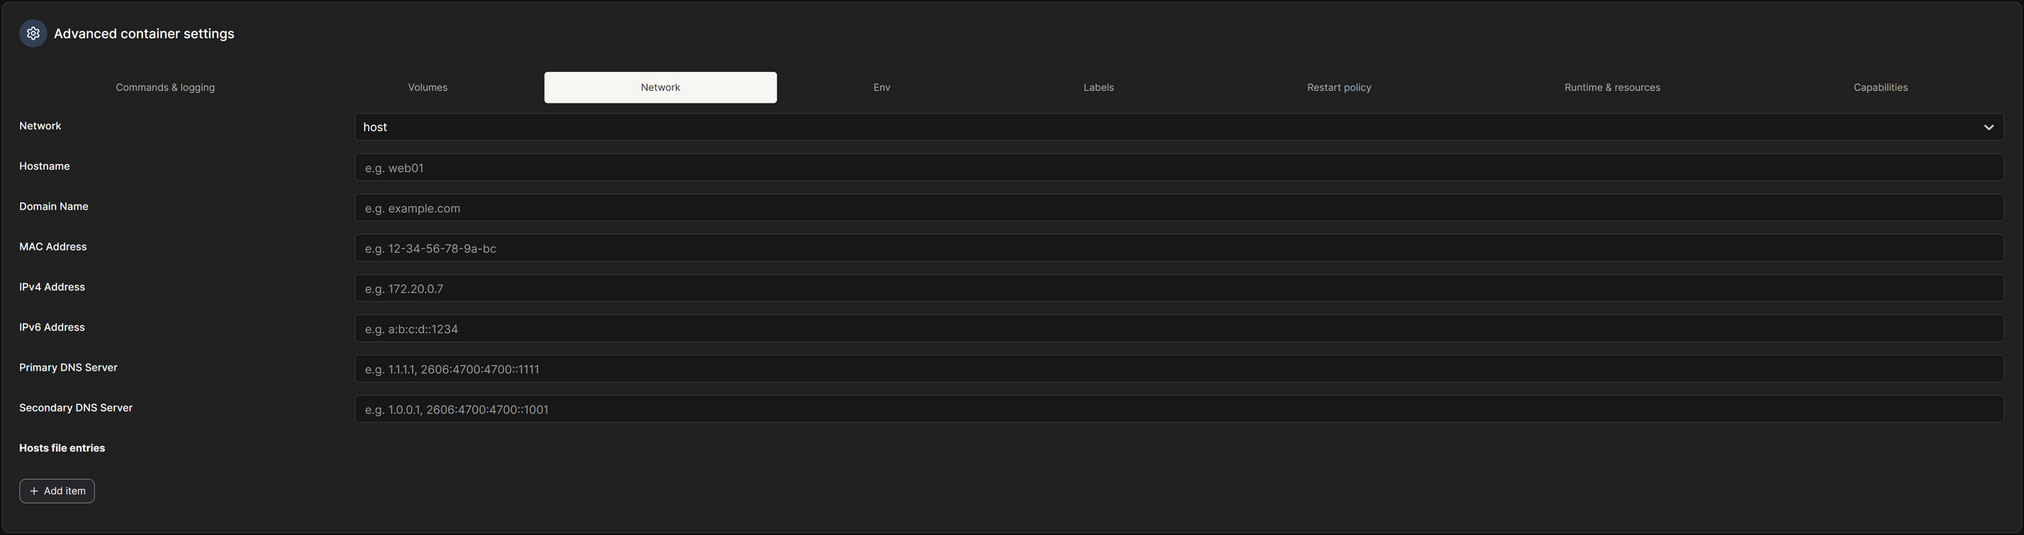
Set your Network to Host
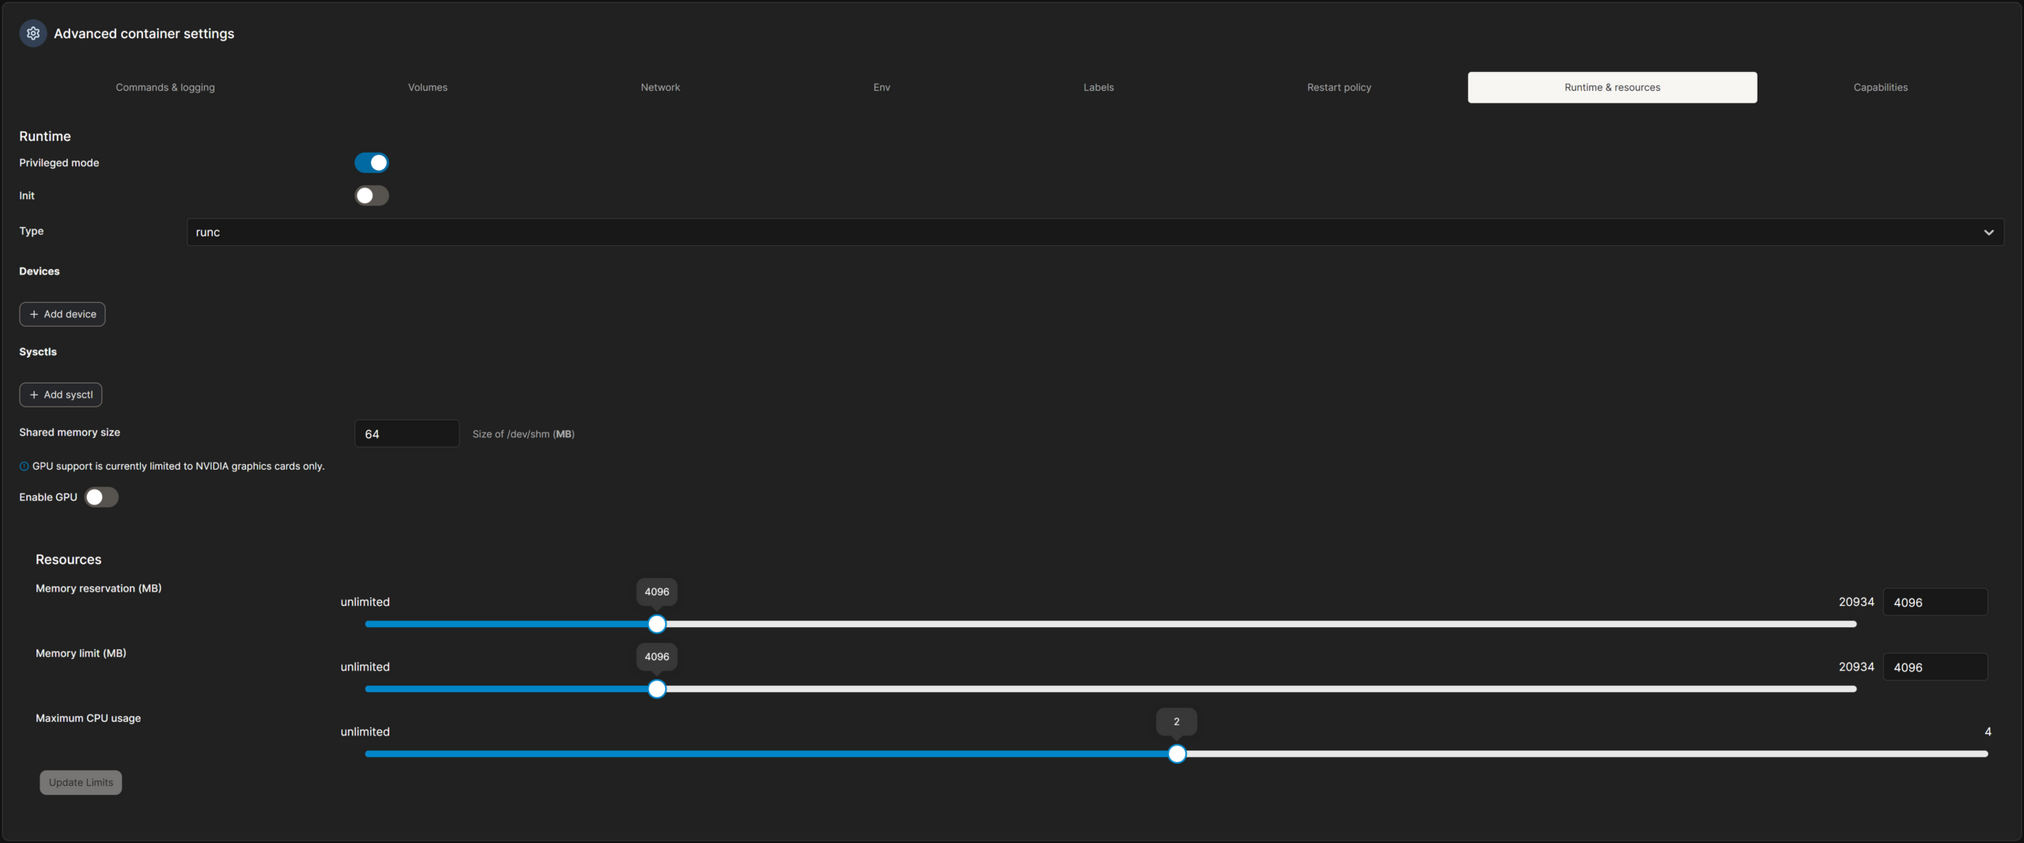
Set your timezone and, optionally, the PUID and GUID to the user’s home folder that you’re putting the files in, so you don’t run into any folder/file permission issues

Set your Restart Policy

Here we set the Privileged Mode, and any Devices that you need to mount. Optionally, but recommended, set the Resources to a max of what I have set here.
I have 5.840 Entities, 4,297 Sensors, 160 Integrations, and 103 Automations. I have no issues running Home Assistant with these restrictions.
Now we can click Deploy to download the image and start the container!

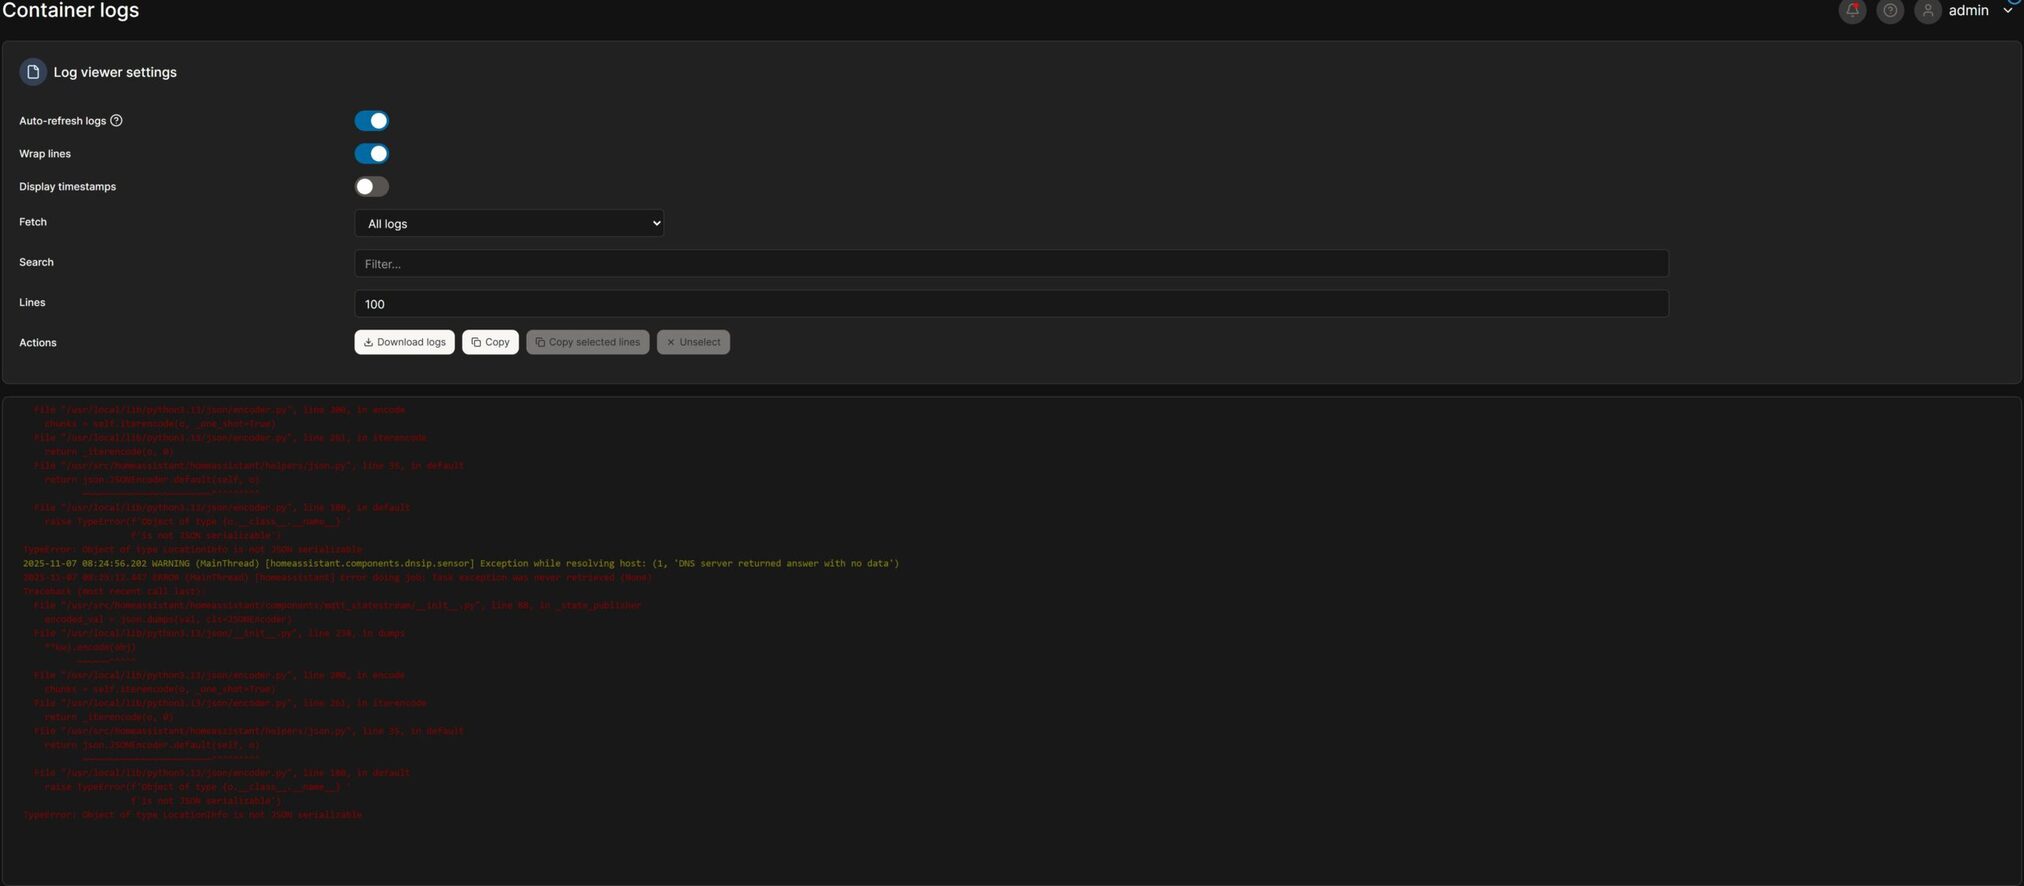
Check the logs of the container with the logs button:
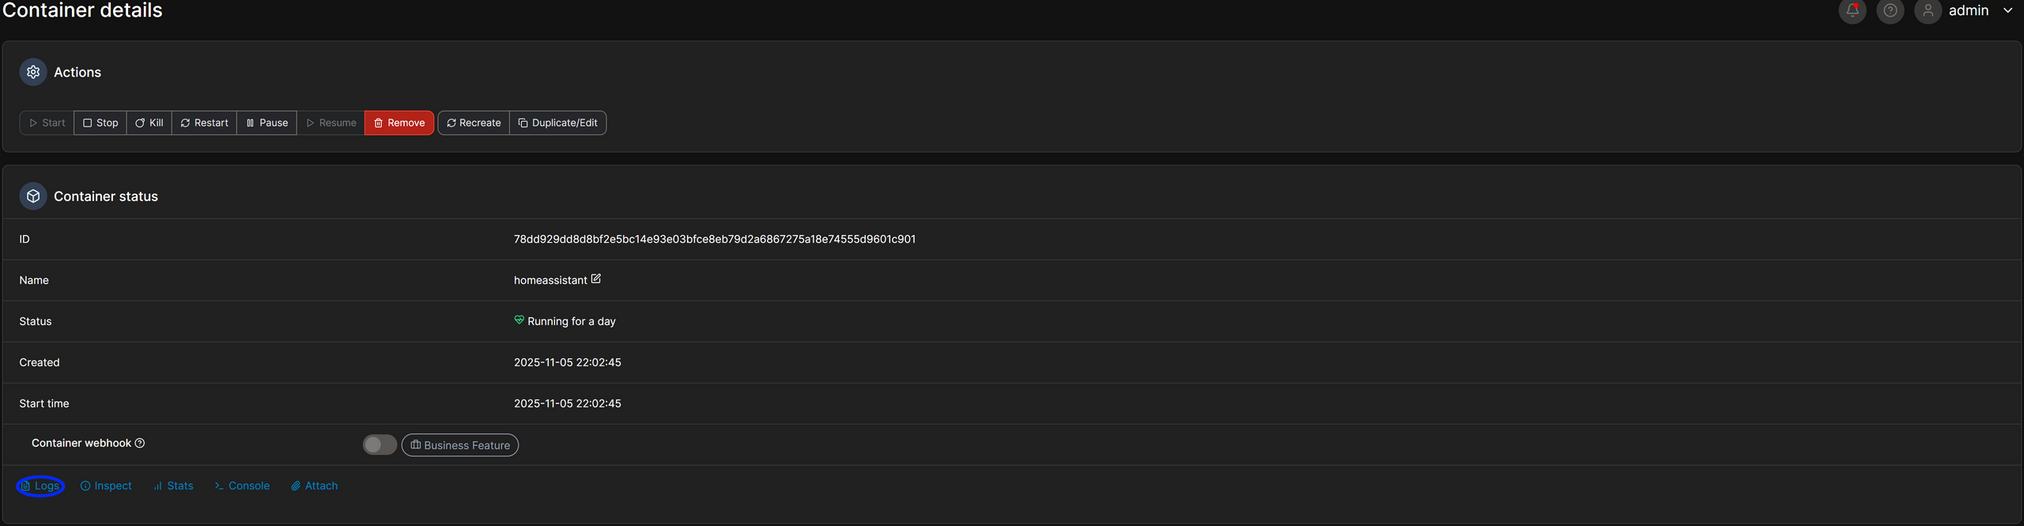
You will now see the current logs of Home Assistant, and it will tell you if anything is wrong. You can set the log’s lines higher if you need to and make sure to turn off auto refresh if you need to read anything, as it refreshes every few seconds, so you can see the latest entries. Don’t mind the red as one of my sensors in complaining.
You should now be all set to use Home Assistant!
Starting the Container with Docker Compose
Now we should be ready to start up Home Assistant for the first time!
All you need to do to start the container is type:
# run with sudo if your user isn't a part of the docker group
# change the .yaml file to the one that you created
docker compose compose.yaml up -dWe can check the logs of Home Assistant with:
# run with sudo if your user isn't a part of the docker group
# replace homeassistant with the name of the service that you set in the compose file from before
docker compose -f homeassistantAssuming everything went well, you should be ready to configure Home Assistant itself!
Here is a quick cheat sheet for Docker Compose!
# remember to add sudo if your user isn't a part of the docker group!
# bring up all services in foreground (attach)
docker compose up

# bring up in background (detached)
docker compose up -d

# rebuild images then up
docker compose up -d --build

# stop services (but keep containers)
docker compose stop

# start stopped services (existing containers)
docker compose start

# restart services
docker compose restart

# show running compose containers for the project
docker compose ps

# show logs (follow)
docker compose logs -f
# logs for a single service:
docker compose logs -f web

# execute a shell in a running container
docker compose exec web /bin/bash
# or if you need tty:
docker compose exec -T web /bin/bash

# run a one-off command (creates a temporary container using service definition)
docker compose run --rm web bash

# bring everything down (stop + remove containers, networks)
docker compose down

# remove stopped containers, networks, images not used by any service
docker compose down --rmi all --volumes --remove-orphans

# build images only
docker compose build

# pull images only
docker compose pullHave fun with the greatest home automation platform in the world(in my opinion)!
If you need any support, feel free to leave a comment or message me on one of my socials! Just make sure to keep it relevant as I get a lot of scam messages and I don’t have a lot of time to waste on spam lol.
I hope you have fun and have a great day!